Pages

Wednesday, June 6, 2012

Pizza Capers {part two}

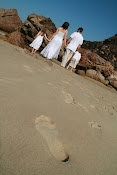
Ok so, Last week I did a blog post on my homemade pizza's.  I said as I made different ones I would post about it.  Well, Sunday night we had friends over for a Lazy, fun catch up.  We actually originally planned to go to the beach and watch the sun set over wine and nibbles but as it turned out it was freeeeeezing, wet and miserable out so I told them to come here, to our home instead where it was warm and cosy.  They still brought their nibblies {cheeses, shaved hams, olives, etc, etc} but I thought seeing we were staying home I would cook sum pizza's for us all.  So along with the ones I posted about last, I also made these two...

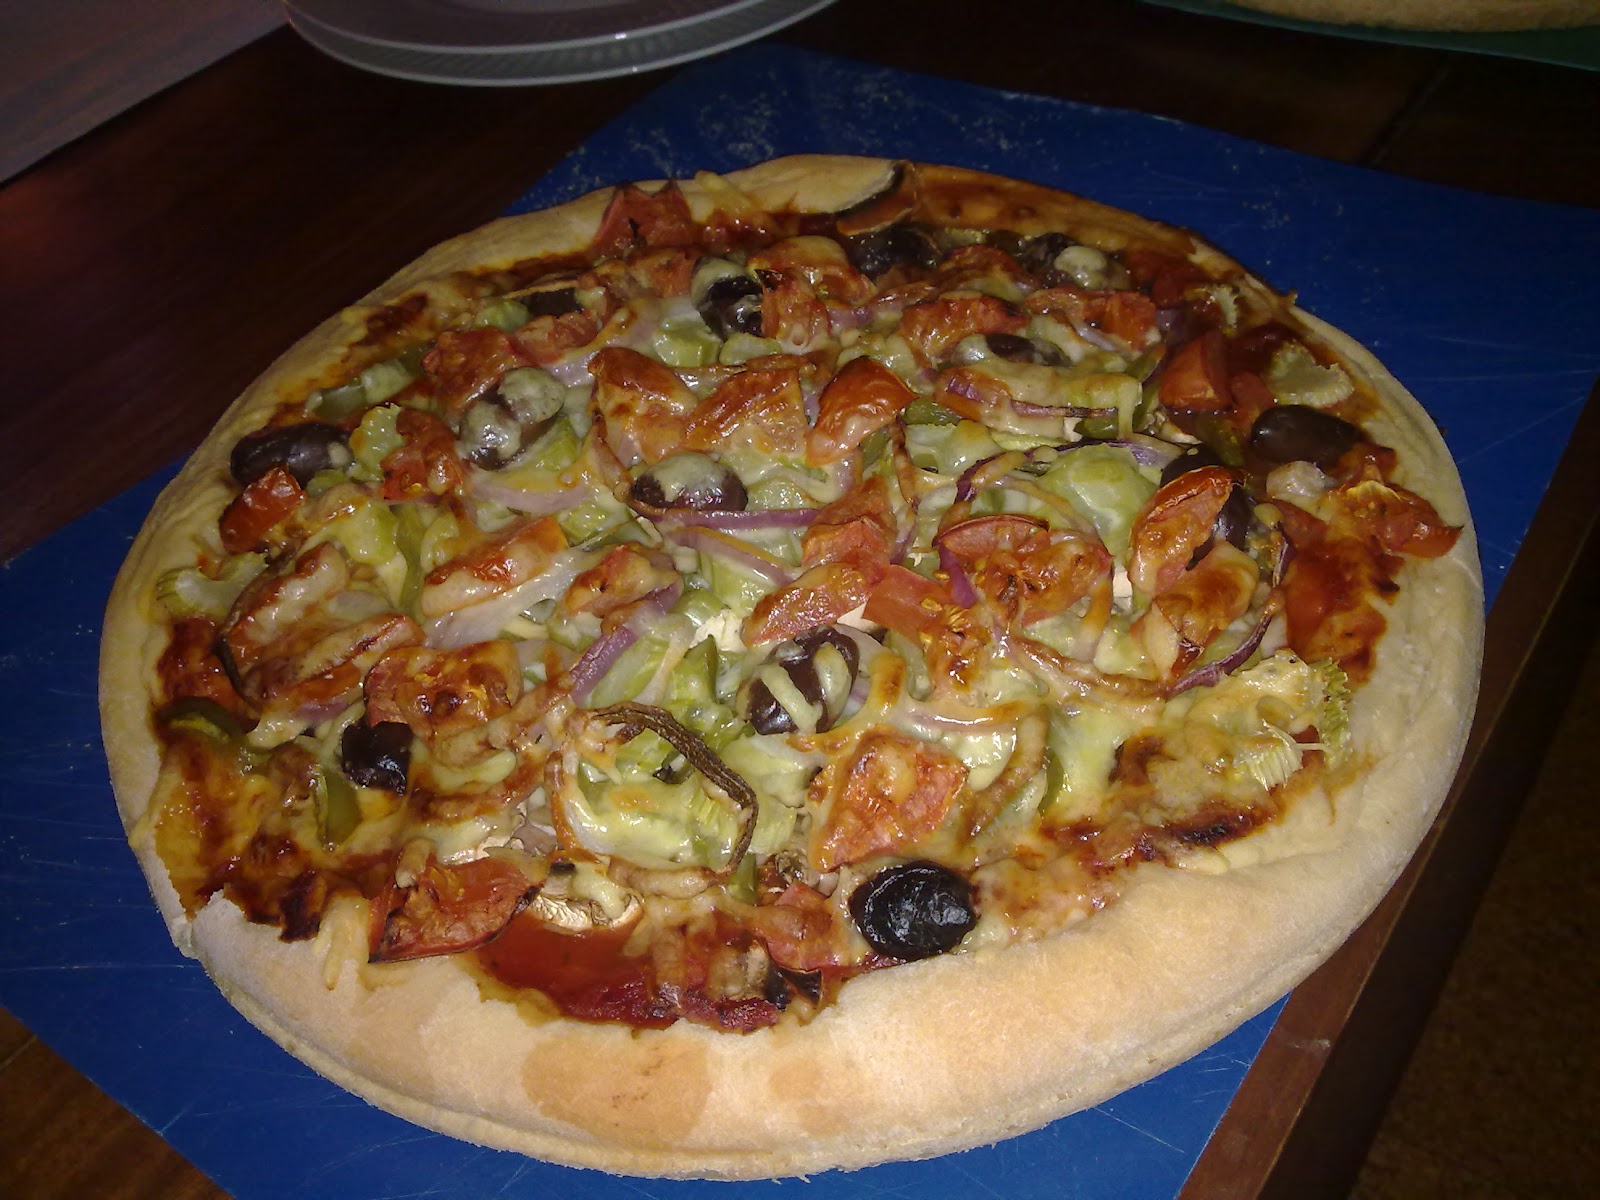
1) My take on an Italian favorite...
I have on it...
*Pizza sauce
*Proccuitto
*cherry tomatoes
*Kalamata olives
*Philedelphia cream cheese
* Fresh  Rocket Leaves (to top)


It is a very simple, basic pizza that ALWAYS seems to cook up so lovely and tastey. Its always a winner. The cream cheese, although a little unusual for pizza is devine. A bit like fetta once cooked.
Next is "pizza roma with rocket & Parmesan...
This has *Red onion
*2 cloves of garlic
*450g minced beef
*6 thin slices of salami, chopped
*140g tomato paste
2 teaspoons of smoked Paprika
* 2 Tblsp chopped fresh oregano leaves
*4 tbspn water
* 2-3 tbspn pinenuts
*Fresh rocket leaves
* freshly shaved Parmesan cheese


Heat Olive oil in a non-stick frying pan.  Add sliced red onion and cook for about 2 mins untill tender. Stiring continually.  Add Garlic, minced beef and salami..  Cook untill beef has changed colour, making sure to break up any large peieces.
Stir in tomato paste, smoked paprika, chopped oregano and water and cook for 2-3 mins. Stirring occationally.  Set aside to cool.
Spoon cooled meat mixture onto the dough evenly and sprinkle with pinenuts.
Bake in a pre-heated oven at 180*C for 15-20 mins.
Serve topped with fresh rocket leaves and parmesan.
*Also nice with 2 tablespoons of olive oil combined with 1 tablespoon of balsamic vinegar...drzzled ove the top...yum!

  To be totaly honest...this was lovely but not my favorite, however my husband couldnt get enough of this one.  I think its a great "man" pizza...LOL.

All these were made, of course on my homemade pizza bases that I gave the recipe for in my last post.


 All ent down very well with good friends and red wine and was topped off with dessert....
Can't forget dessert!


Photobucket


Thursday, May 24, 2012

My Pizza capers

Mmmmmm...pizza.  Generally Friday night is Pizza night in our home.  But not just any old pizza, yummy, healthy, wholesome homemade pizza.

I thought seeing it is such a favorite in our home I would do a super quick blog on this.
I make my own bases in the breadmaker.
Heres my pizza dough recipe...
*400ml of water
* 2 tablespoons of Olive oil
* 2 teaspoons celtic sea salt
*  5 cups of bread flour
*  3 1/2 tsp of yeast

Throw all in the bread maker in that order.  Click on the dough setting.  Wait approx an hour and a half.  Once mixed place the ball of dough onto a floured surface, slice in half.  Roll one half into a round pizza shape.  Place onto pizza tray/stone.
 A tip* Roll the dough slighly larger than the tray.  Then roll the edges into the base around the edge to fit the tray its on.  Doing this creates a 'crust' on your pizza.  It rises nicely at it cooks.

Then let it sit for about half an hour to allow the base to slightly rise and thicken.
Then simply place your topping on.

For the first one I pretty much placed on what I could find in my fridge and pantry...
tomato pizza sauce,
Zuccini,
Chopped tomato,
mushrooms,
capsicum,
olives,
sundried tomatos,
red onion,
Very thinly sliced celery,
smoked shaved ham,
fetta cheese and
grated cheese....


The second one is boring yet my kids favourite (sorry about the side pic).  On this i have...
*pizza sauce
*Shaved smoked ham
*Pineapple
* grated cheese


I do a few other toppings but I was thinking that as I cook these pizzas I will blog them.

Not very good pics, but with a bottle of red, a side salad and a new release dvd...These pizza's make Friday nights the best!


Photobucket


Monday, May 21, 2012

My rustic garden

HaPpY MoNdAy all!  I thought I would start the week off with a pretty blog about my new garden spot.  I found this georgouse little bench seat on ebay for a very, very cheap price...and I won! yay!


Isnt it just toooo cute??? It has such a rustic, homely, french farmhouse feel to it.

I had the perferfect spot for it outside my dining room window. I still need to tidy up around this are and I also want hubby to build a wooden screen to hide his 'beer fridge', not exactly somthing i want on display next to my pretty garden.
I had a ton of old terracotta pots and an old cast iron pot dug half way under dirt in the back yard where 'polly' our little chicky used to be.
Here is the result...


Below is One of my most favorite flowers EVER...daisies! Forever timeless and so homely.


an old tin with herbs, with my basil behind...

Little T and miss Mimi helped me, of course to plant.  They even wanted their own little plants that they grew from seed.  The first one is little T's {I just love that he's written 'daisy on his chalky part}...


...and the 2nd is miss Mimi's...
I'll update in a few weeks how they are growing.


 Below, my thriving mint.  It smells devine!


This is the old cast iron pot, growing my Italian parsley...cute huh?


Simply theraputic!  To see flowers and green outside my window with the sun dancing through the leaves gives me a huge smile everyday!


Happiness flutters in the air whilst we rest among the breaths of nature. ~Kelly Sheaffer


Photobucket


Monday, May 7, 2012

Trash Pack container.

This little project is a bit of a lame one.  It is so basic and a little sad looking & quite frankly Im a tad embaressed, however I thought I would share this post as I was happy with my re-use of items and also, my lovely son is happy with the results...so thats good, I guess.

At the moment my little T, {as most 7 year old boys are at the moment}, is obsessed with the trash packs.  He saw in the junk mail, a sale on trash pack trucks and extra little trashies to go along with it.  So he tore it out, pulled apart his money box and worked out if he could afford it.  He was a little off affording it so he worked his little butt off around the home untill he had enough money saved to buy it.  The big day came and he hasnt looked back since.  He was so excited to have his trash pack truck.

Anyway, we had all these little trash cans that didnt fit in the truck so he asked me to find somthing to put them in.  I hunted through my cupboards and found an empty Aldi coffee pod container.  They are metal tins and quite sturdy.  It was perfect. 
I soaked the label off it, cleaned it and then gave it a spray of silver.


BEFORE!

A bit of gooey green paint oozing out of it made it look 'bin-like' .  I then carefully painted 'the trash pack' on it.
The end result...

AFTER!

Like I said...a very basic, simple and not-so clever project but Im realy happy I got to re-use and recycle.
What have you done with those little aldi tins you have??  They are so useful.


Photobucket


Sunday, April 15, 2012

Home pakages of hearts ♥

On Friday, Offically the last day of the school holidays the kids and I decided bake some cookies, package them up into cute little bundles and deliver them to our beautiful friends.

We made heart shaped shortbreads with lemon icing.
Very simple to make with only a few simple ingredience...

2 Cups of self-raising flour (sifted)
1 Cup of custard powder (sifted)
2/4 cup icing sugar (sifted)
1 block of butter

Mix together with your fingers untill it turns into a dough.  This does take some time so you may want to have someone close by to chat to, my kids provided great enetertainment for me, heehee also you may have or want to purchase a fancy pants 'pastry blender' that does this job a bit quicker.  I purchased mine from 'robins kitchen' for only around $7, a great investment I think.

Once you have a smooth dough roll into a ball and place on a floured bench and roll out. Cut out your shapes...

The kids loved 'cutting' the cookies (we had our lil' neighbor friend help out too)...


Placed the cookie heart shapes onto cookie trays (or as we used pizza trays lined with baking paper) we used a fork to lightly place marks onto the cookie dough.  I think it just adds that professional look, LOL...


Once cooked to a golden colour we took them out of the oven to cool.  We made lemon icing with pure icing sugar and a squeeze of lemon, mixed to a failry thick paste consistancy.  If you like to get that 'lemon' look you can add a very. very small drop of lemon food colouring and mix it in well to give it the lemon look.  But this isnt neccary.  Put icing on ONE under side of of the cookie and squish another on top...


End result...Lots of tasty little heart kisses...


All packged up with brown paper and ribbon, as well as homemade stamped tags to let our friends know how much we love them ♥


Both my kids got a total buzz out of delivering them.  They felt so special and so happy they were giving homemade gifts.
Once delivered the text messages of thanks started rolling in.  The thanks & appreciation made all of us feel so happy & proud we made somone else day just that tiny bit nicer ♥
It was all worth it!


Photobucket


UndertheTableandDreaming

4wd with our wonderful friends.

Well a big hello!  As the school holidays draw to an end and my lil' family winds down I thought i would blog about the day we enjoyed last Monday with our beautiful friends...Claire, Dave and their lovely daughters Megan and Olivia, Maddona and Eric, Larissa and Paul and their gorgouse kids Tiana, Jay & Ally....and the 4 of us, of course.

About a month ago my husband was lucky enough to get a 'brand spankin' new, off the showroom floor' work car.  It so happened to be the new B-50 Mazda 4WD duel cab ute.  It was a bit of a treat for us as we've never had a new, new car ever before.  My hubby is 40 at the end of this year and feels a bit chuffed that he actually got a brand spanker before he hit 40, LOL.
Somthing we never expected to ever have...that along with having our own home!!  The 2 things we NEVER  in our craziest thoughts we'd have...pretty exciting huh?

Anyhoo...back to last Monday.  We, along with our friends decided to head out west...just past beau dessert (around the scenic rim) and head for a 4WD track.  Now as ive mentioned many, many ties me and my husband are coasties.  We've only been 4WDing a couple of times and it was on Stradbroke island...along the beach another once when we camped at Balina beach.  So heading out to the dust and hills was a tad different...but it was such a fun, fun lovely day.  Just check out the scenery...

Can you see the waterfall in the distance?...


Sooooo Pretty....


Through the water....


Our friends poor car suffered a little...


When we pulled over a few horseback riders passed, was pretty cool...


  ...and moo cows greeted us on the road side, perfect...


After a big days driving we got home, tired, dirty and happy!  We all slept well that night.  It was the funnest day ever.  I must say, it does help when you have friends that make you laugh the whole day.  Im very thankful and lucky for that.


Photobucket