
Mmmmmm...pizza. Generally Friday night is Pizza night in our home. But not just any old pizza, yummy, healthy, wholesome homemade pizza.
I thought seeing it is such a favorite in our home I would do a super quick blog on this.
I make my own bases in the breadmaker.
Heres my pizza dough recipe...
*400ml of water
* 2 tablespoons of Olive oil
* 2 teaspoons celtic sea salt
* 5 cups of bread flour
* 3 1/2 tsp of yeast
Throw all in the bread maker in that order. Click on the dough setting. Wait approx an hour and a half. Once mixed place the ball of dough onto a floured surface, slice in half. Roll one half into a round pizza shape. Place onto pizza tray/stone.
A tip* Roll the dough slighly larger than the tray. Then roll the edges into the base around the edge to fit the tray its on. Doing this creates a 'crust' on your pizza. It rises nicely at it cooks.
Then let it sit for about half an hour to allow the base to slightly rise and thicken.
Then simply place your topping on.
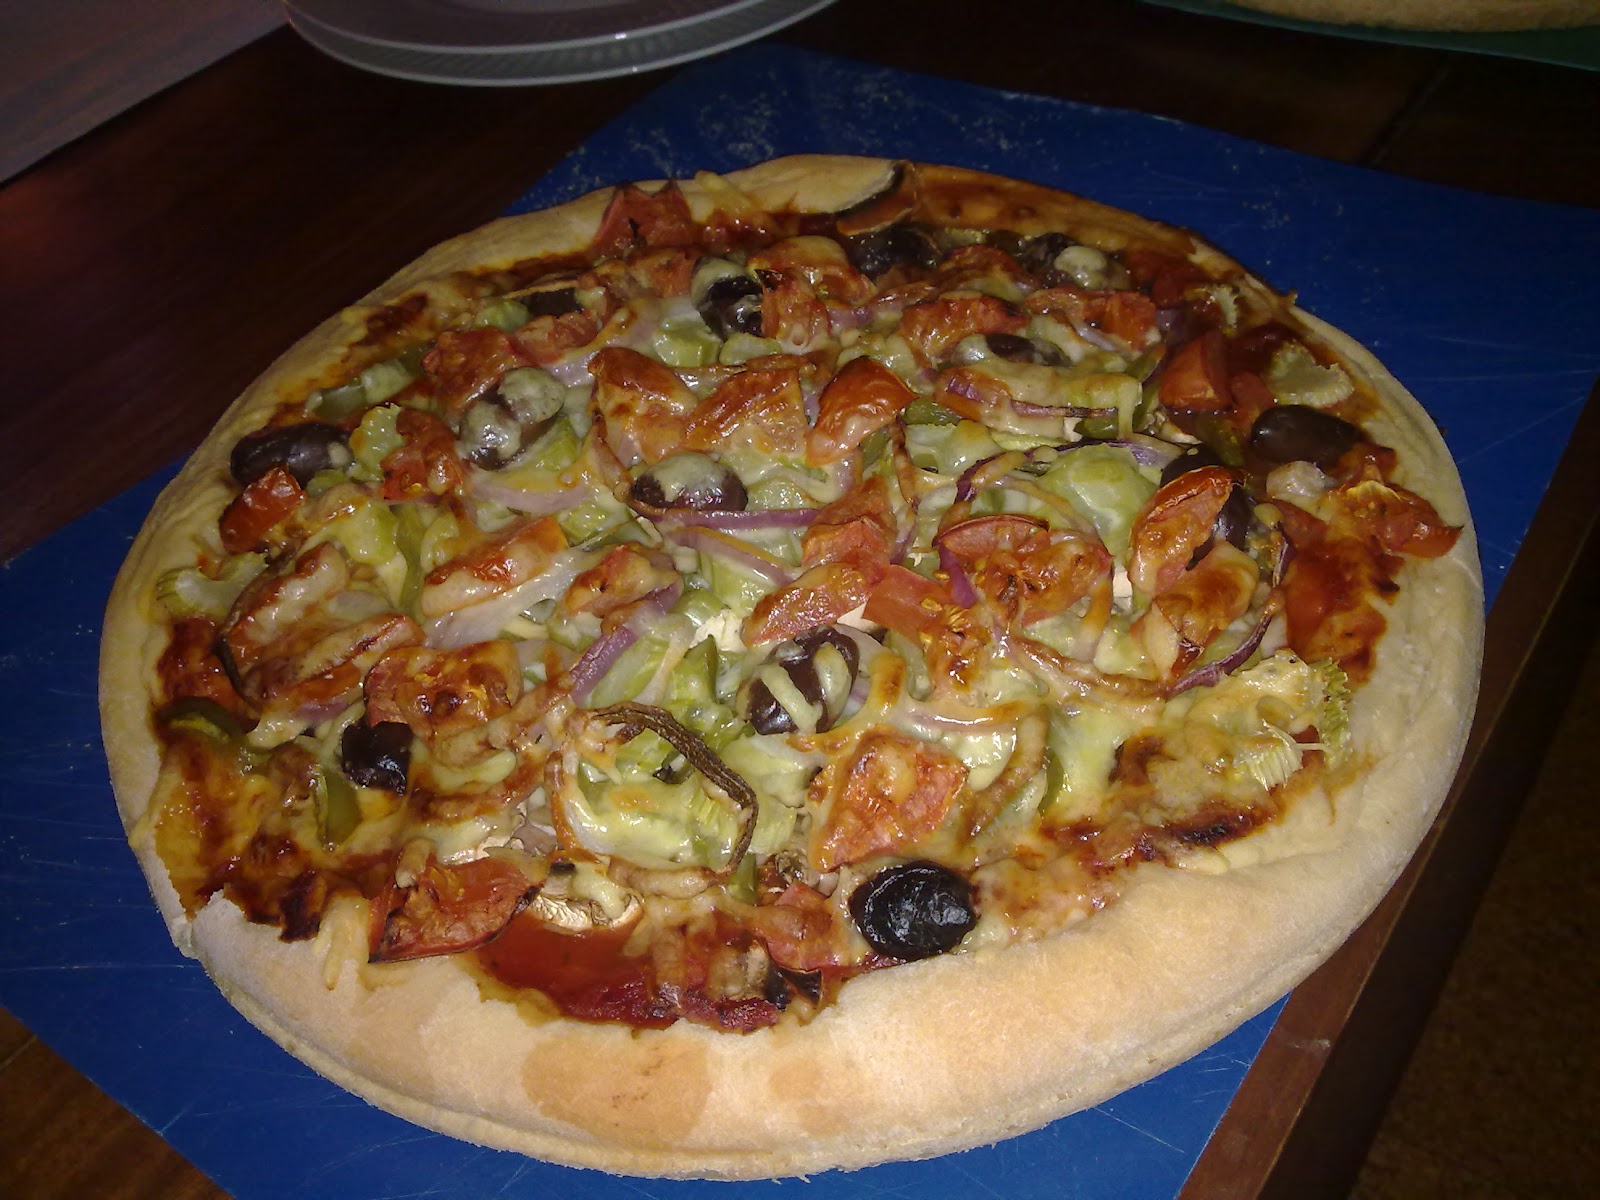
For the first one I pretty much placed on what I could find in my fridge and pantry...
tomato pizza sauce,
Zuccini,
Chopped tomato,
mushrooms,
capsicum,
olives,
sundried tomatos,
red onion,
Very thinly sliced celery,
smoked shaved ham,
fetta cheese and
grated cheese....


I thought seeing it is such a favorite in our home I would do a super quick blog on this.
I make my own bases in the breadmaker.
Heres my pizza dough recipe...
*400ml of water
* 2 tablespoons of Olive oil
* 2 teaspoons celtic sea salt
* 5 cups of bread flour
* 3 1/2 tsp of yeast
Throw all in the bread maker in that order. Click on the dough setting. Wait approx an hour and a half. Once mixed place the ball of dough onto a floured surface, slice in half. Roll one half into a round pizza shape. Place onto pizza tray/stone.
A tip* Roll the dough slighly larger than the tray. Then roll the edges into the base around the edge to fit the tray its on. Doing this creates a 'crust' on your pizza. It rises nicely at it cooks.
Then let it sit for about half an hour to allow the base to slightly rise and thicken.
Then simply place your topping on.
For the first one I pretty much placed on what I could find in my fridge and pantry...
tomato pizza sauce,
Zuccini,
Chopped tomato,
mushrooms,
capsicum,
olives,
sundried tomatos,
red onion,
Very thinly sliced celery,
smoked shaved ham,
fetta cheese and
grated cheese....
The second one is boring yet my kids favourite (sorry about the side pic). On this i have...
*pizza sauce
*Shaved smoked ham
*Pineapple
* grated cheese


I do a few other toppings but I was thinking that as I cook these pizzas I will blog them.
Not very good pics, but with a bottle of red, a side salad and a new release dvd...These pizza's make Friday nights the best!


.png)


hOKcgkw~~60_12.jpg)


